Google Nexus cell phones have never failed to amaze consumers across the world with its various smartphones. So, if you have been a regular viewed of Pocketnow; one of the most important sources of information of mobile technology, news and reviews of different devices (since 2000) you might be wondering what the next Nexus model would look like.
One of the most recently, rekindled interest on the page has definitely been Google’s Nexus 6! After getting AT&T’s demo device off the back burner last month, which has only kicked off the summer with an After The Buzz re-review of Motorola’s oversized phablet; which was followed by an exclusive feature piece on Google’s Nexus 6-only Project Fi service.
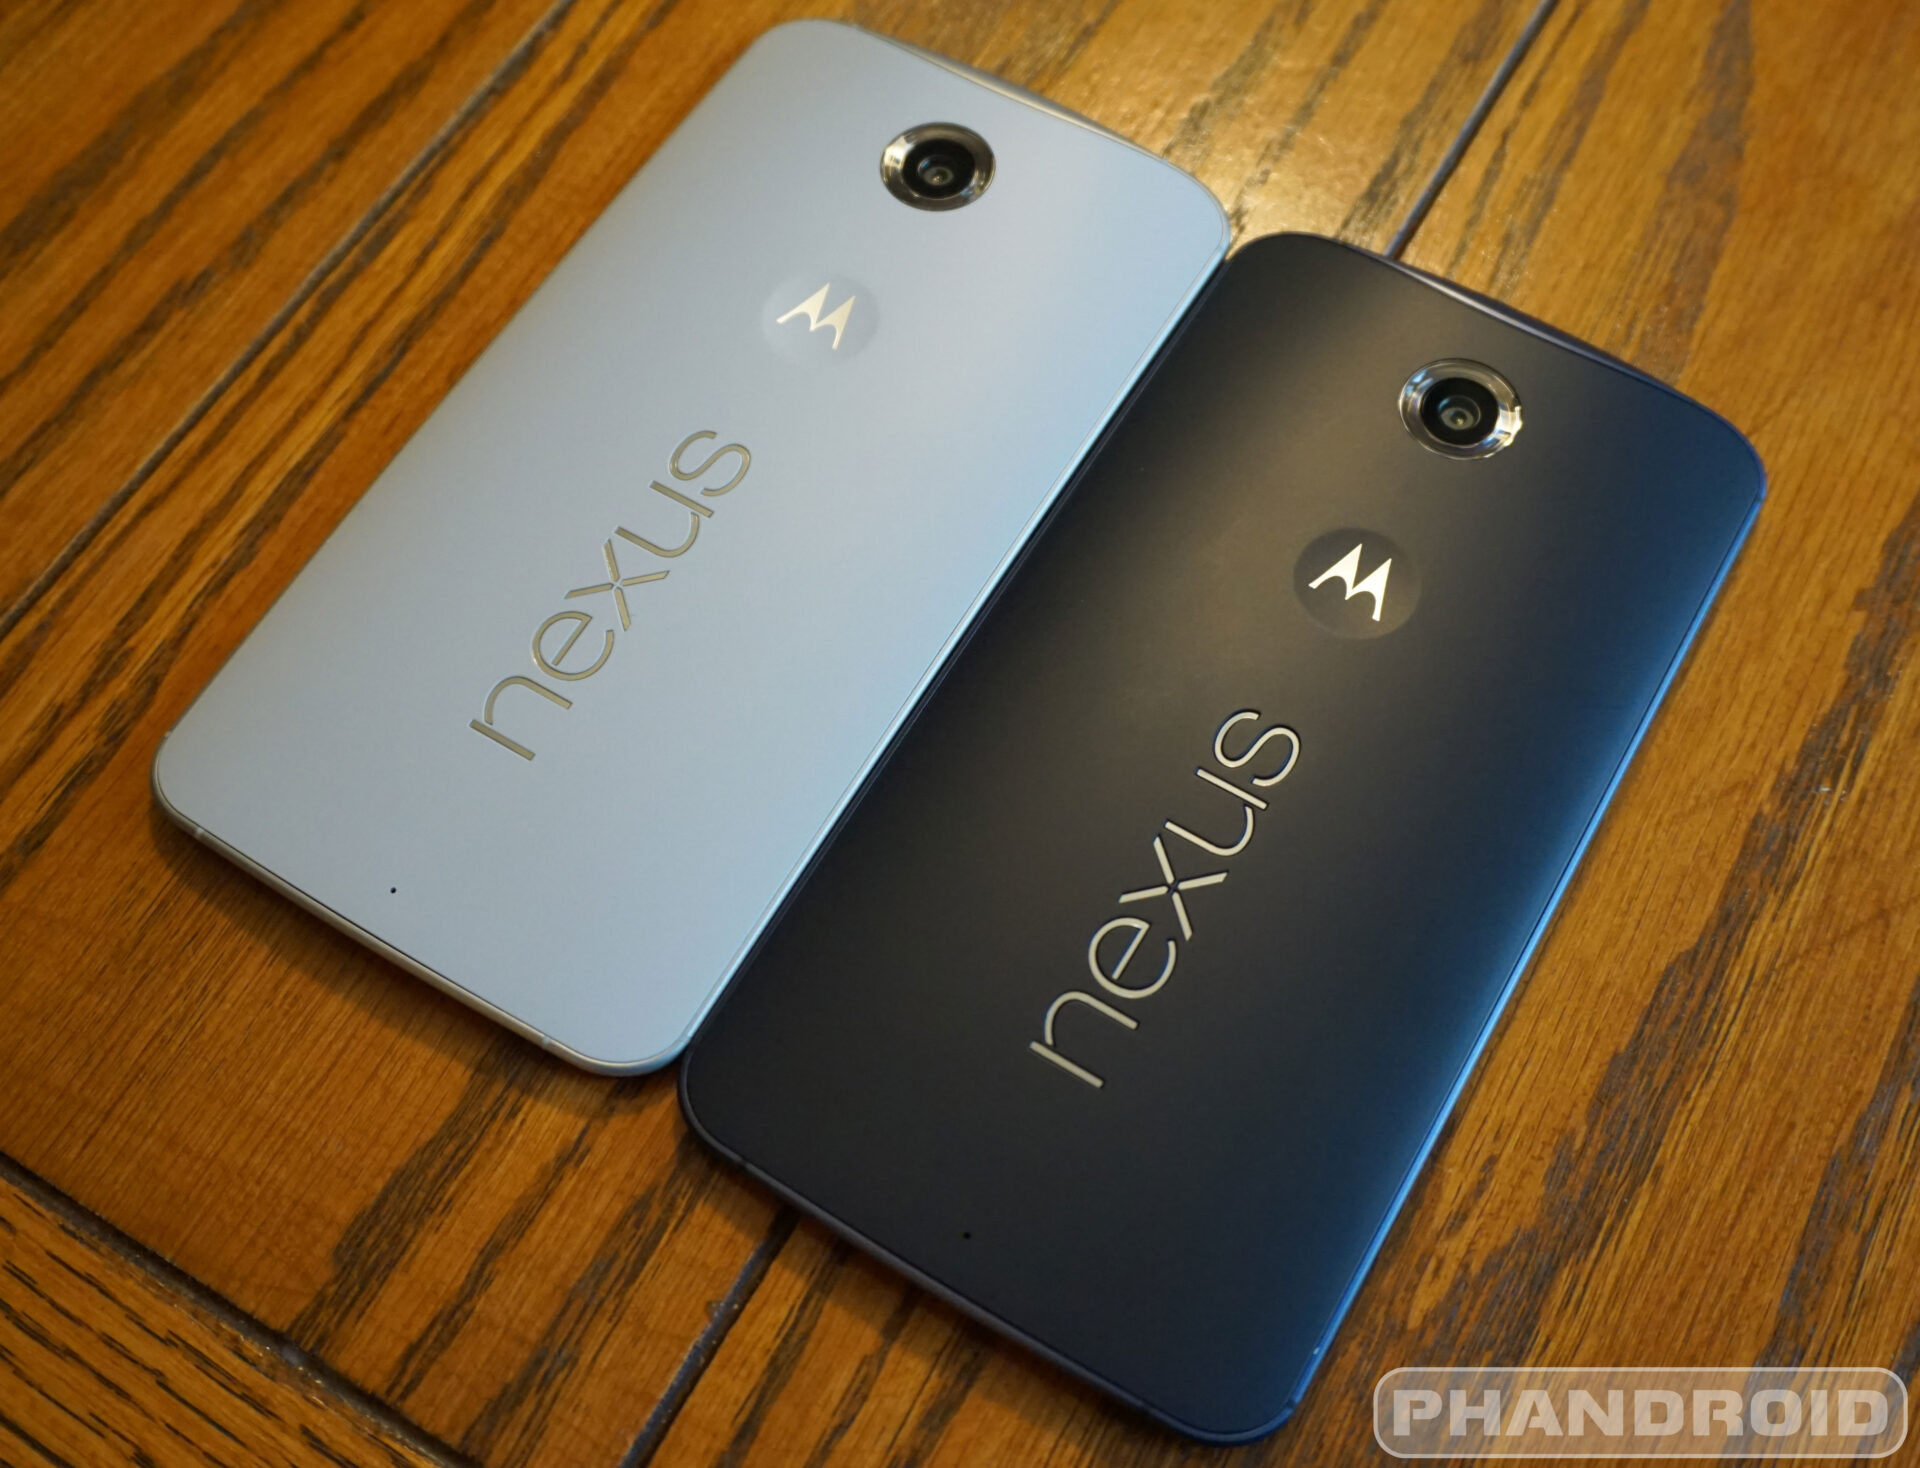
Although it has a steep price and monstrous dimensions, the Nexus 6 already has a devoted fan following amongst Android fans. With Android 5.1 having already smoothed out some of Lollipop’s hiccups, most at the P Machine already like this phone, which was formerly known as Shamu.
However, having new software is not enough to give this aging device the boost that it requires to grab attention. So, that’s just what do-it-yourselfer (and longtime Pocketnow reader) Booth did with his Nexus 6. They swapped the branded back-cover of Nexus for the Moto X Pro and deanodizing the phones midplate before giving it a final glimmering shine. So, here is what AT&T Nexus 6 looks like, with a stock ‘Midnight Blue’ paint job:
And here’s Booth’s variant:
While the change is extremely subtle, that it can fly under radar at FIRST glance there are a lot of differences if you take a close look! Firtly, the pronounced Nexus branded has one and the dark blue plastic has been replaced with a matte black soft-touch material. This has been framed with newly glistening metal, that gives it an eye-catching look without having veering into the gaudy chrome-zone.
Deanodizing the Nexus 6 has been pretty simple. All of the credit has to be given to a man at XDA thread.
Some of the helpful tricks and tips include:
- The simplest way to remove the back is in the first 30 seconds of this video. I used a paperclip. There’s a perfect hole drilled from the sim tray port to the back cover that a paperclip fits in perfectly. And a hair dryer or heat gun really helps.
- A T3 screw driver is needed for all screws except one which is Phillips.
- Best teardown video IMO (minus the way he removes the back). Most important thing is disconnecting the flex ribbon cable. There is a little flap that needs to be lifted to disconnect the two cables. Watch closely in the video at minute 2:30 how he gently unclasps this connection. It’s super delicate. At 4:50 of this video it shows it even better while he’s reconnecting it.
- Greased Lightning does the deanodization work. It may take up to 30 minutes. About an inch in a bucket.
- Here’s the link to the matte black back. Choose Black from dropdown. It’s the same texture as the Nexus 5. Note: it is actually a back for the Moto X Pro so does not have the “Nexus” logo. Heat it well with a hair dryer or heat gun before installing.
- Know that if you mess it up, you can buy a complete housing for $35.
